The MC 26 was conceived to be one of the most oceanic cruising boats of her size intended to be built within the most economical budget possible, without jeopardizing structural integrity, comfort, and seaworthiness.
Our goal was to pinpoint the minimum length over all necessary for a sailboat to have adequate headroom in the saloon, which according to the opinion of most of our clients, is at least 1,85m, and so the whole design was developed to fit this requirement.
Twenty-six feet from stem to rudder stock was the shortest length that could fulfill this requirement without compromising adequate proportionality compared to other successful yachts of about the same capabilities.
The Multichine26C is a boat intended for amateur construction with a standard of quality that is seldomly matched by series production boats.
est.
Technical Data
Length Overall
8.74 m
Length Waterline
7.21 m
Beam
3.12 m
Draught
1.47 m
Ballast
930 kg
Displacement
2,500 kg
Fresh water capacity
350 l
Diesel capacity
95 l
Standing Headroom
1.85 m
Sail Area
30.55 m2
Auxiliary Propulsion
9 hp (inboard) or 15 hp (outboard)
Construction
Plyglass
List of Plans
MC26 – S0A – Full Size Patterns A
MC26 – S0B – Full Size Patterns B
MC26 – S0C – Full Size Patterns C
MC26 – S0D – Full Size Patterns D
MC26 – S0E – Full Size Patterns E
MC26 – S0F – Full Size Patterns F
MC26 – S0G – Stem Full Size Pattern
MC26 – S1 – Lines Plan
MC26 – S2 – Mast and Sails
MC26 – S3 – Interior Layout
MC26 – S4 – Deck Layout
MC26 – S5 – Structural Arrangement
MC26 – S6A – Transversal Sections
MC26 – S6B – Plywood Cut-out at Stations
MC26 – S7A – Keel
MC26 – S7B – Steel Box Keel
MC26 – S7C – Keel Construction
MC26 -S7D – Centreboard Central Panel
MC26 -S7E – Centreboard Side Panels
MC26 -S7G – Rudder for Keel with Centreboard
MC26 – S8 – Transom Platform
MC26 – S9 – Custom Fittings
MC26 – S10 – Companionway Hatch
MC26 – S11 – Engine and Propulsion
Boat Description
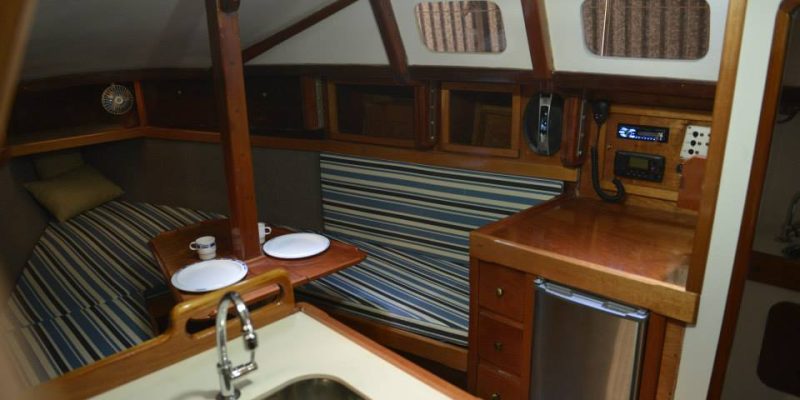
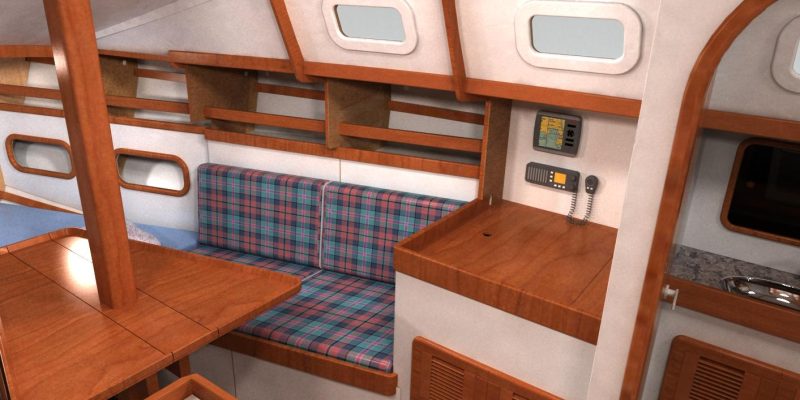
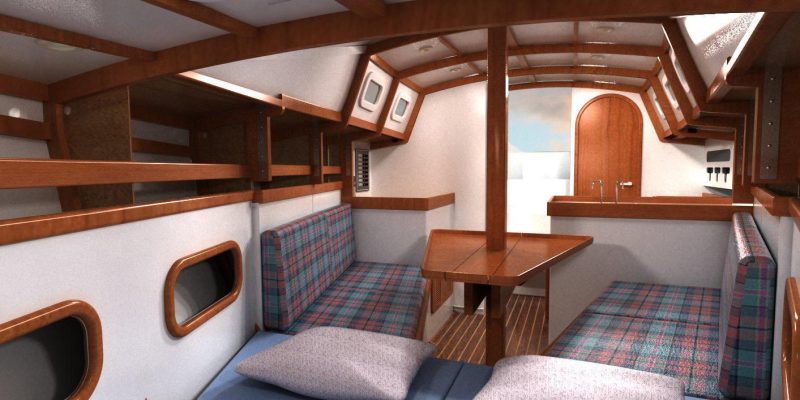
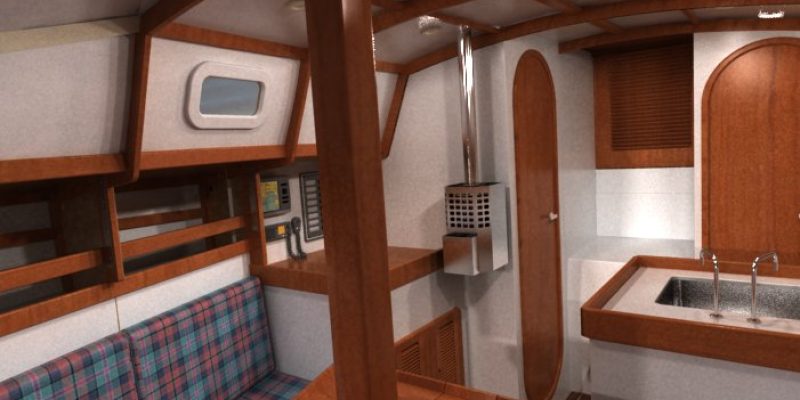
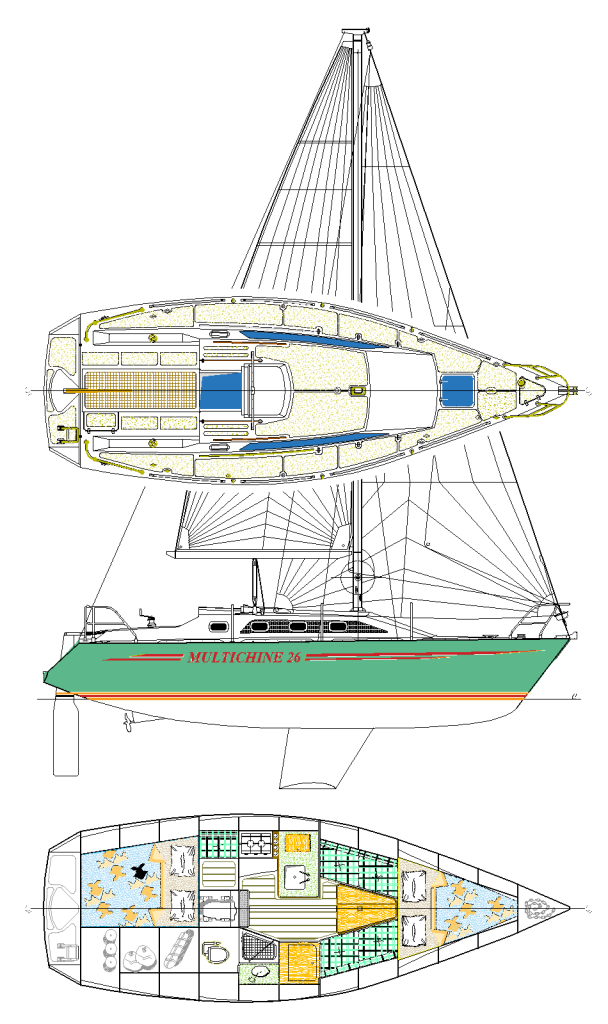
We placed a double berth abaft the collision bulkhead that makes the anchor rode well, prolonging the upholstery level of the bunks into the dinette so that there is no discontinuity between the saloon and this double berth. This arrangement gives a favorable impression of spaciousness for the whole interior, besides providing excellent air circulation throughout the whole cabin.
The V-shaped dinette has its table attached to the mast supporting pillar and to complete the arrangement there are a series of lockers behind the seat rests. There are also two large storage compartments, as well as two water tanks, under the dinette seats, so that the space in the whole saloon is fully used.
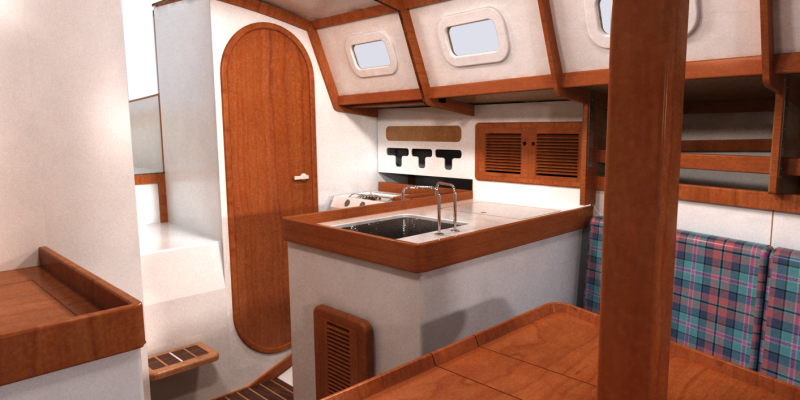
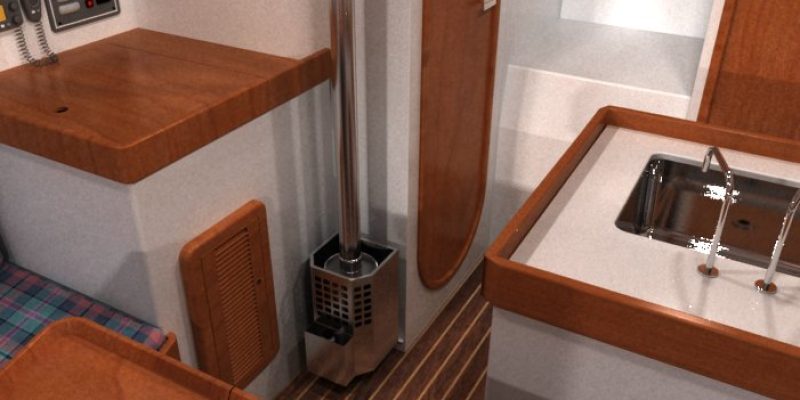
The galley is as complete as one can find in a boat this size. Placed to portside, it has the gimbaled stove fitted in a recess abaft the galley counter and close to the companionway, the most ventilated area inside the cabin.
The galley counter is provided with a well dimensioned sink and an icebox or electrical refrigerator is fitted next to the topside.
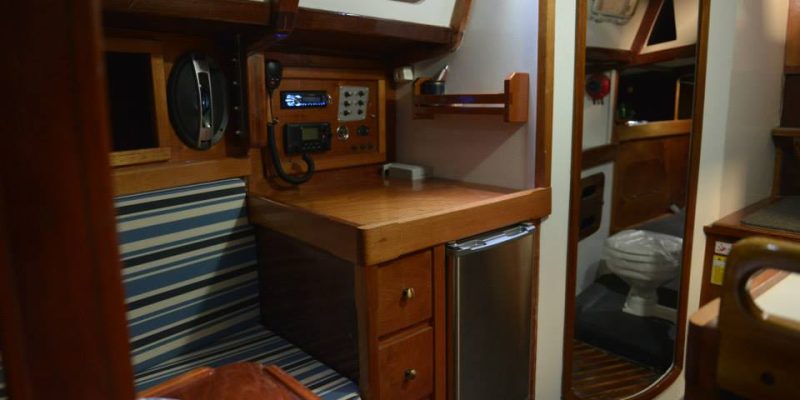
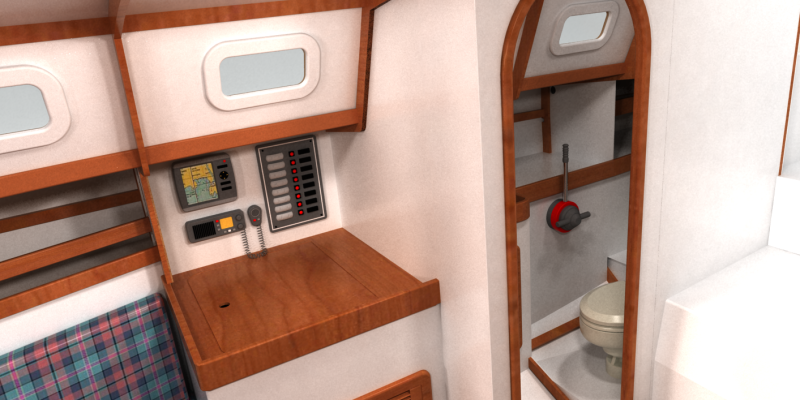
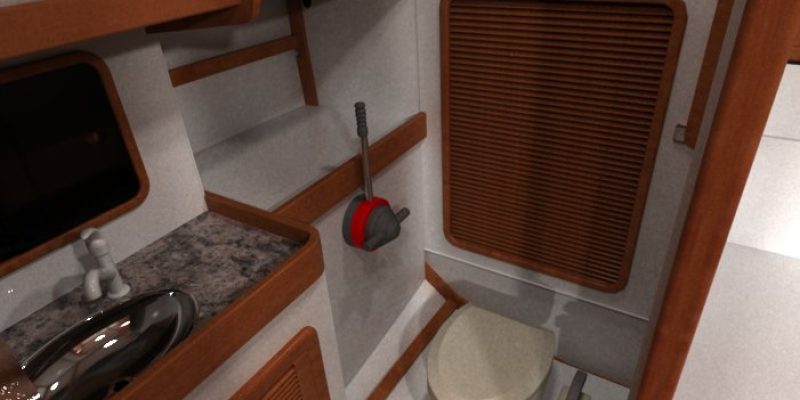
The navigation table is at the opposite side to the galley counter and is separated by a bulkhead from the boat’s heads, where the headroom is almost the same as that in the saloon.
A spacious after cabin with an entrance hall with a sofa and locker behind the backseat complete the interior layout, the coziest we can imagine for a 26 foot hull.
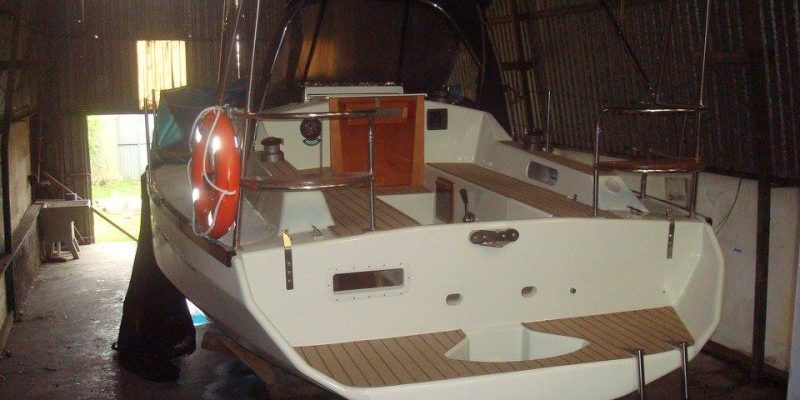
The deck layout is highlighted by a remarkably spacious cockpit, well protected from breaking seas by a cabin trunk and ergonometric coamings. The trunk side walls are provided with four opening ports for maximum ventilation when in port and water tightness when sailing in bad weather and the ports are shut.
The main sheet traveler is located before the companionway hatch, abaft of which we recommend the installation of a folding dodger that should extend to the front cockpit seat, to provide some shelter to the crew sitting next to the cabin trunk after wall.
We opted for a stern hung rudder with tiller bar for maximum reliability and low cost. This rudder is surrounded by a boarding platform with a triangular aperture for the rudder blade. The mast steps on the coach-roof, so any possibility of leaks is eliminated.
The fore deck is provided with a 500mmx500mm hatch and ahead of it we specified an oversized mooring cleat.
The top-rigged sail plan is the cleanest and strongest we can design. With a pair of lowers and one upper shroud, the mast is very rigid and can stand bad weather in all sorts of sailing conditions. Actually, the uppers make a cross-shaped support for the mast top panel, while the four lowers make an X-shaped support at spreaders level.
The sail inventory is simple and efficient. She has an overlapping genoa for light winds condition, a high clew jib and a storm jib. A furling device is a good option, but it isn’t indispensable, since the working jib may be employed for most of the time. An asymmetric spinnaker may be hoisted from the pin that holds the two anchors rode roller sheaves.
The main sail has a moderate foot, which makes jibing easier and has two reefing lines in the spacing of three.
This is a practical idea for cruising purposes, since although the boat might eventually be short canvassed, the boat can do without a trysail, providing the main sail cloth is dimensioned to stand the bad weather condition which would require hoisting a trysail.
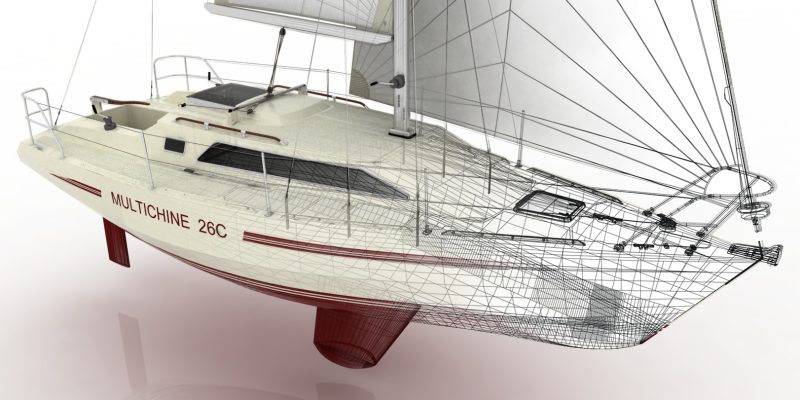
The MC26C has a very efficient hull shape with a large transom and waterlines with a fine entry. The fact that she has a polygonal cross section is hardly noticed, since the adequate number of chines makes the hull to resemble a round bilge one.
The plans provide two options for the fin-keel. The most practical to build is a steel box with lead poured inside, and the most sophisticated one is a cast iron fin-keel with a flat bottom bulb at its tip. With plenty of ballast for the sail area and a large beam at the water line, the MC26C is very stable.
The transom hung hinged rudder is easy to be built, its integrity is bullet proof, and it is handy to be maintained.
Tiller steering is the simplest and most reliable system available and allows for the installation of a cockpit auto-pilot, the cheapest and more convenient way to self-steer.
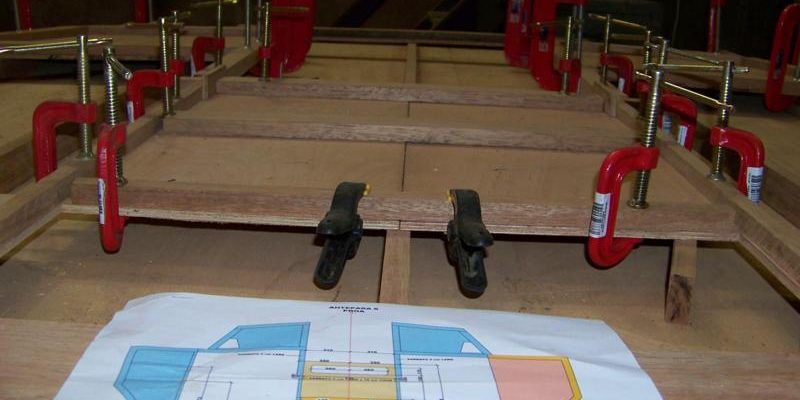
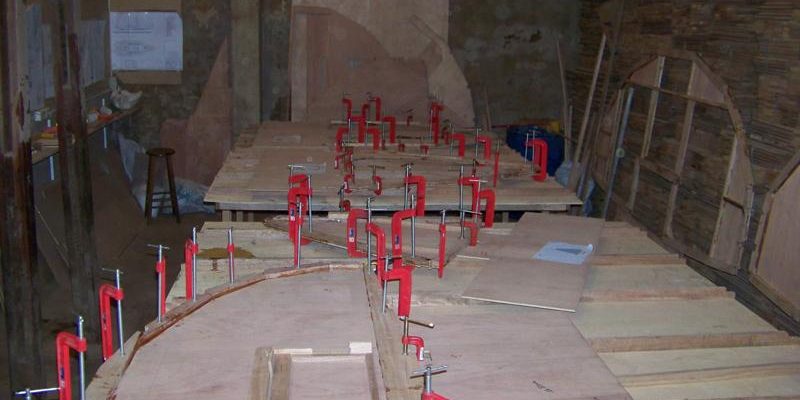
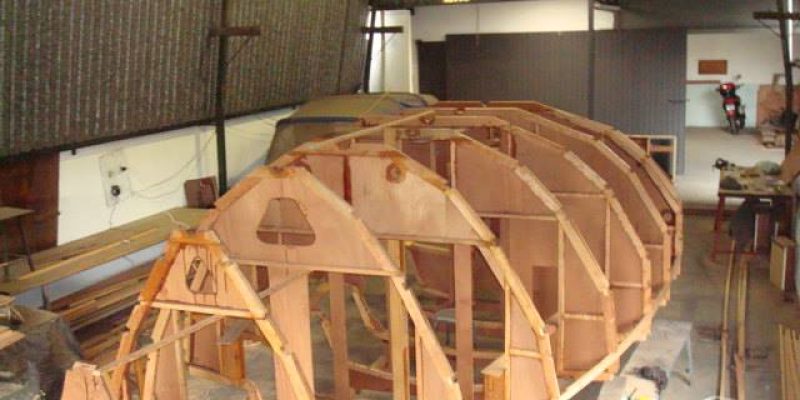
The secret of the construction of the MC26C resides in its extreme simplicity when building the transverse bulkheads. As they are built at the work bench and their outside contours are given in the full-size patterns provided with the plans, there is no difficulty in assembling them.
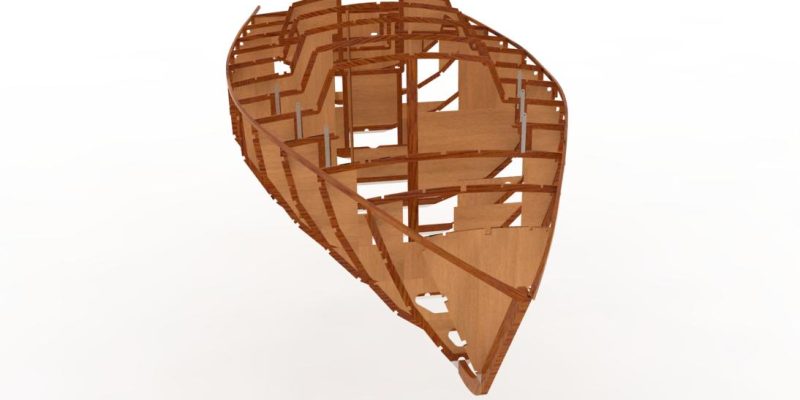
Standing these bulkheads on their positions over the building grid is an easy task and joining them with the chine and sheer clamps is also a straightforward operation, since the notches where they fit are opened when fabricating the bulkheads or semi-bulkheads. The structural keel is laminated directly over these bulkheads and joins to the laminated stem.
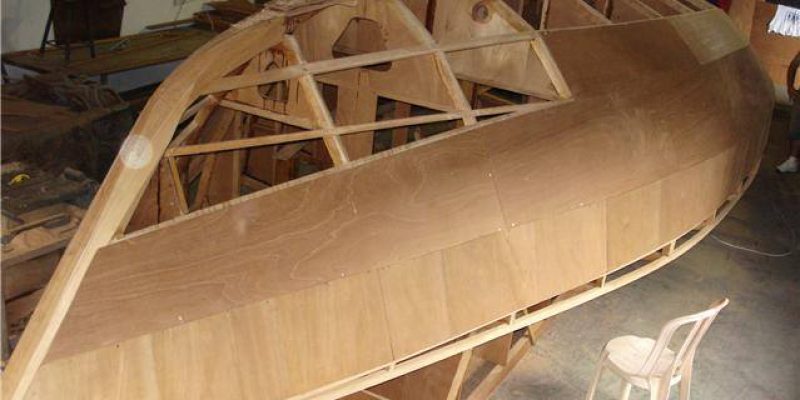
After beveling the whole structure, sheathing the structure with marine-ply is ready to be started. This work is facilitated by the employment of thin (6mm) plywood panels, which are glued and screwed over the structural members. When the construction reaches this stage, the builder can already see how the hull looks like, and this is a great incentive for proceeding with the work. Next the hull fiberglass sheathing is applied, and this is explained in detail, with a whole chapter of the building manual covering this issue.
After turning the hull upside, the construction of the interior is quite straightforward, since all the transverse walls and furniture partitions were prefabricated at the workbench.
The joiner work specified for the MC26 C is the simplest possible. Butt joints are thoroughly employed and trims are simply bonded to panels at their edges, so even an inexperienced amateur is capable of accomplishing a good quality job.
Deck and cabin trunk follow the same process explained for hull construction and this time the glass encapsulation and fairing are much easier to be accomplished than the equivalent work on the hull outside surface.
Other operations are saturating the interior with epoxy, installing the plumbing, electrical and propulsion systems, painting the whole boat and installing fittings, rudder and keel, all these subjects fully explained in the building manual.
Browse Gallery
See Related Plans

